
Introduction
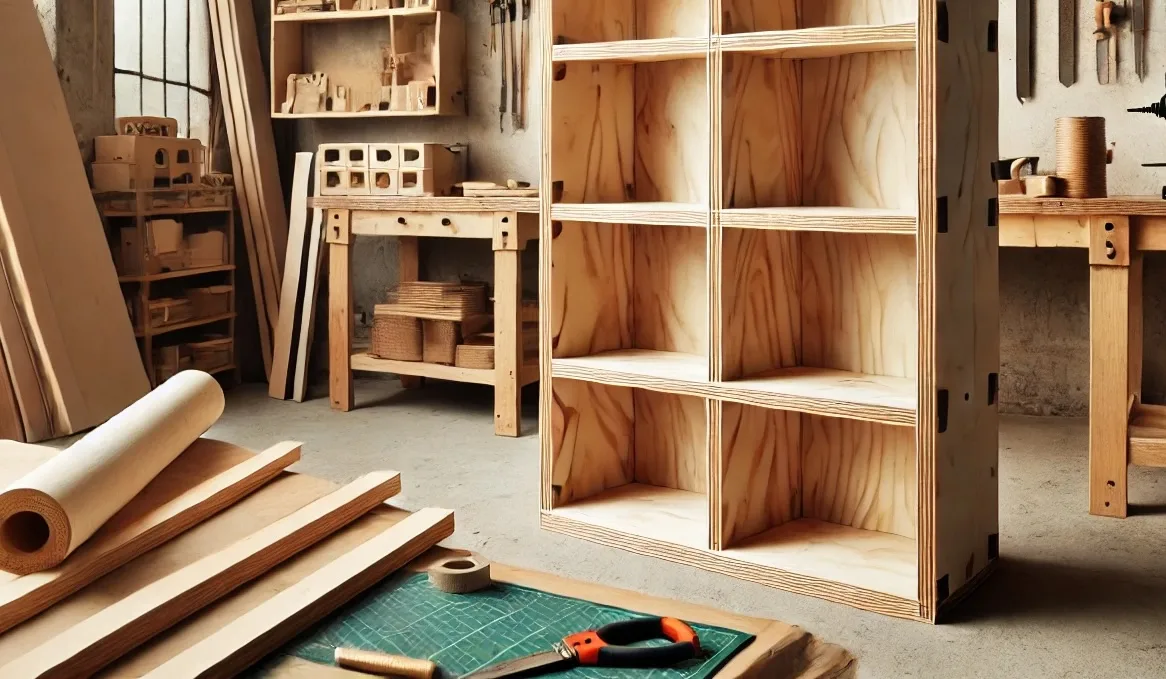
A DIY bookshelf is a great beginner-friendly woodworking project that enhances both storage and aesthetics in your home. Whether you’re building one for a home office, living room, or kid’s room, a simple wooden bookshelf is functional and customizable. This guide will walk you through how to build a sturdy, stylish bookshelf from scratch, using basic tools and materials.
1. Materials and Tools Needed
Tools Required:
- Circular Saw or Table Saw (DeWalt DWE575SB) – For cutting wood panels.
- Drill and Driver Set (Makita XFD131) – To assemble the structure.
- Clamps (Bessey GSCC2.518) – To hold pieces together securely.
- Measuring Tape (Stanley 25’ PowerLock / 7.5m) – Ensures accurate dimensions.
- Wood Glue and Wood Screws – For strong and stable joints.
- Sandpaper (120-220 grit) – To smooth out rough edges.
- Paint or Wood Finish – To protect and enhance the bookshelf.
Materials List:
- ¾-inch (19mm) plywood sheet – For shelves and sides.
- 1×2 lumber (19x38mm) – For decorative trim and reinforcement.
- 1.5-inch (38mm) wood screws – For assembling the structure.
- Wood filler – To cover screw holes.
2. Cutting Your Wood Pieces
Using a circular saw or table saw, cut the plywood to the following dimensions:
- Side Panels (2): 48” x 12” (1219mm x 305mm)
- Top and Bottom Panels (2): 30” x 12” (762mm x 305mm)
- Shelves (3-4): 28.5” x 12” (724mm x 305mm)
- Back Panel (Optional): 30” x 48” (762mm x 1219mm), ¼-inch (6mm) plywood
📌 Tip: Adjust shelf height depending on what you’ll store!
3. Assembling the Bookshelf Frame
- Attach the Top and Bottom Panels:
- Place the two side panels upright and secure the top and bottom panels between them using wood glue and screws.
- Make sure everything is square before tightening screws.
- Install the Shelves:
- Measure and mark the placement of each shelf.
- Use clamps to hold them in place while securing them with wood screws.
- Ensure equal spacing between shelves for a balanced look.
- Attach the Back Panel (Optional):
- If adding a back panel, secure it to the frame using small nails or a staple gun.
- This adds extra stability and a finished appearance.
4. Sanding and Finishing Your Bookshelf
- Sand all surfaces using 120-220 grit sandpaper to smooth rough edges.
- Apply wood filler over screw holes and sand again once dry.
- Finish the bookshelf with paint, stain, or clear wood finish for protection.
- Let it dry completely before use.
5. Customizing Your Bookshelf
- Add decorative trim to the top for a more elegant look.
- Install adjustable shelves using shelf pins.
- Use contrasting wood stains for a modern design.
- Attach wheels to make it mobile for easy repositioning.
6. Where to Buy Quality Wood and Supplies
- Home Depot – Plywood and Lumber (for US woodworkers) if you reside in other countries you can search on google maps for example for “Lumber dealer close to me“
- Rockler – Wood Finishing Products
- Fine Woodworking – DIY Bookshelf Plans
Conclusion
Building a DIY bookshelf is a fantastic beginner project that enhances both your woodworking skills and home decor. With simple tools, plywood, and creativity, you can craft a sturdy, stylish bookshelf tailored to your needs. Whether left natural, stained, or painted, your bookshelf will be a functional and eye-catching addition to your space.
Want more DIY projects? Explore our step-by-step woodworking plans for more beginner-friendly builds!